

The Visual Editor
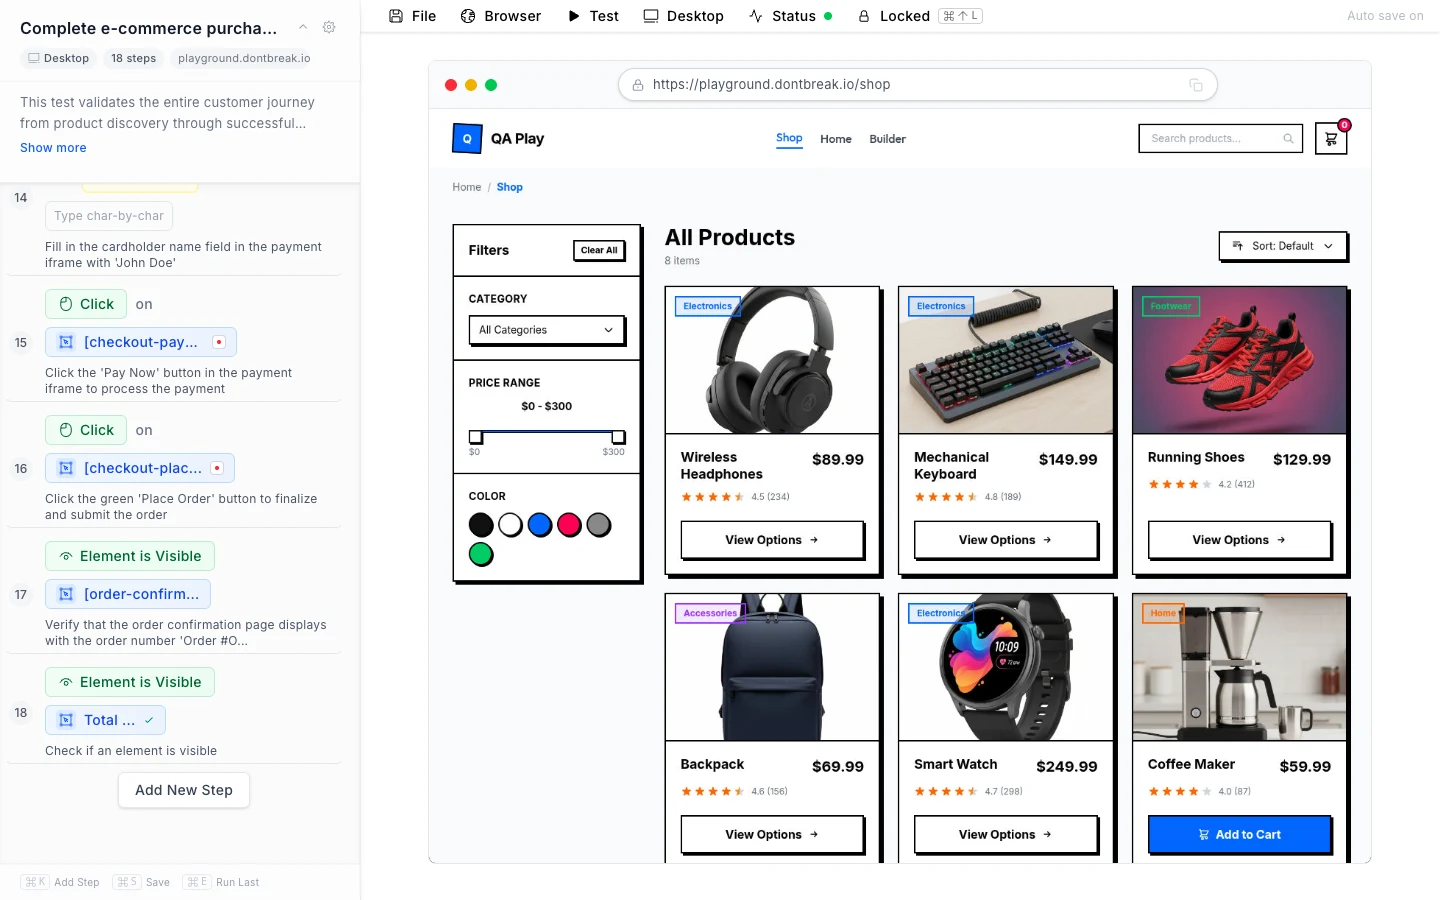
The visual editor (the composer) is where you build and maintain tests: your step list on the left, a live browser session running your site on the right. You build a test one step at a time — choose an action or assertion, pick its target on the live page, then run the step to confirm it works before moving to the next. This page covers everything in the editor — the menubar, keyboard shortcuts, the step list, and the lock control.
The step list
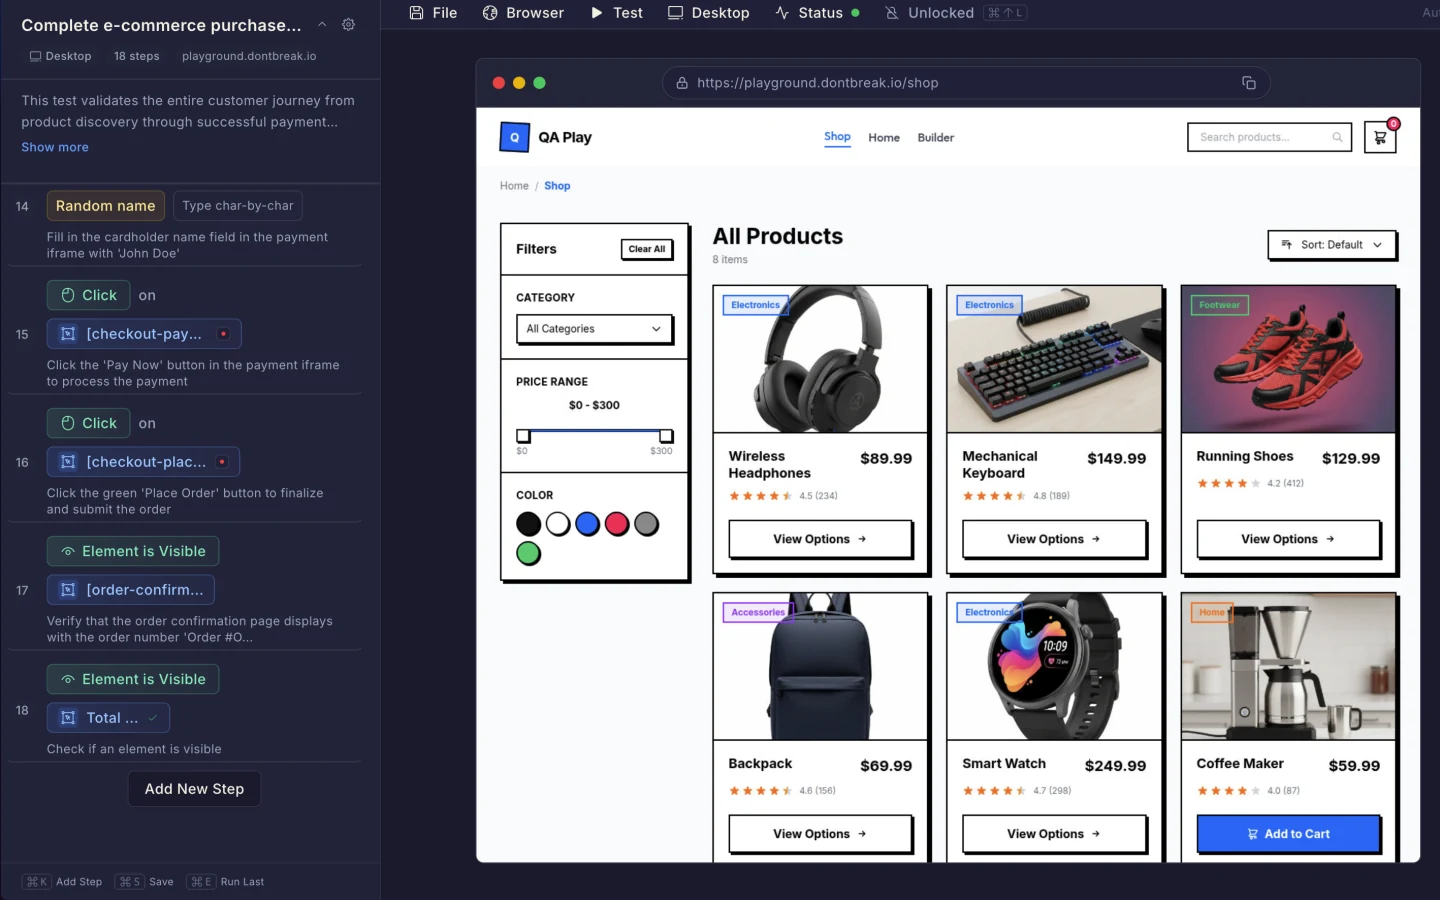
The left panel shows every step in order. From here you can:
- Reorder steps by dragging them.
- Edit a step's settings — target element, input value, description — by expanding it.
- Add a step with the Add New Step button or ⌘K, which opens the action picker with Interact, Assert, Email, and Reusables tabs.
- Play an individual step against the live browser to verify it works before saving.
Desktop and mobile keep separate step lists. Use the device menu in the menubar to switch between Desktop View and Mobile View.
The live preview
The right pane streams a real browser running in the cloud. When you click an element on the page while adding a step, DontBreak captures a visual snapshot of the target so the runner can find it later — even if your markup changes. See Test Reliability for how matching works.
Locked mode
The lock toggle at the right end of the menubar (⌘⇧L) controls whether your mouse and keyboard input is forwarded to the page in the preview:
- Locked (default) — the preview is view-only, so you can't accidentally click around and change page state while editing steps.
- Unlocked — interact with the page directly: browse, log in, scroll, fill forms by hand.
The menubar
| Menu | Contents |
|---|---|
| File | Save (⌘S), Auto Save on/off toggle, Exit (warns about unsaved changes) |
| Browser | Reload, Restart (clears cookies and local storage, then reopens the test URL), Back, Clear Cookies, Clear Local Storage, Copy Selected Text, Console (⌘J) |
| Test | Quick Run, Settings (opens the Test Settings dialog), AI Descriptions (see AI Assistance) |
| Desktop / Mobile | Switch between the desktop and mobile step lists and viewports |
| Status | Read-only indicators: saved/unsaved state, Auto Execute, and Auto Save status |
The Console panel (⌘J) shows the page's browser console output — useful when a step fails because of a JavaScript error on your site.
Keyboard shortcuts
| Shortcut | Action |
|---|---|
| ⌘K | Open / close the Add Test Action picker |
| ⌘S | Save the test |
| ⌘E | Run the last added step again |
| ⌘J | Toggle the console panel |
| ⌘⇧L | Lock / unlock the live preview |
| ⌘1–⌘6 | In the action picker: instantly add one of the first six visible actions |
Tip
Quick Run vs. full launch
There are two ways to execute a test:
- Quick Run (Test menu) runs the test in Chromium on the device view you're currently editing — watch it execute live. Use it to validate changes while composing.
- A full launch (from the test detail page or tests list) executes the test across its entire enabled platform matrix and produces a complete report per browser/device.
Saving and auto save
The Status menu always shows whether you have unsaved changes. With Auto Save enabled (File menu), the editor saves periodically on its own. On save, if your steps still have default auto-generated names, DontBreak offers to generate better step descriptions for you — see AI Assistance.