

Creating Your First Test
Creating a test in DontBreak takes three things: a URL, a few steps, and a save. This guide walks you through the whole flow — from the Create a test button to a verified, saved test — using the test composer, where you build steps against a live browser instead of writing code.
Create the test
Open the Create New Test dialog
Click Create a test in the header (available on most pages). The Create New Test dialog opens.
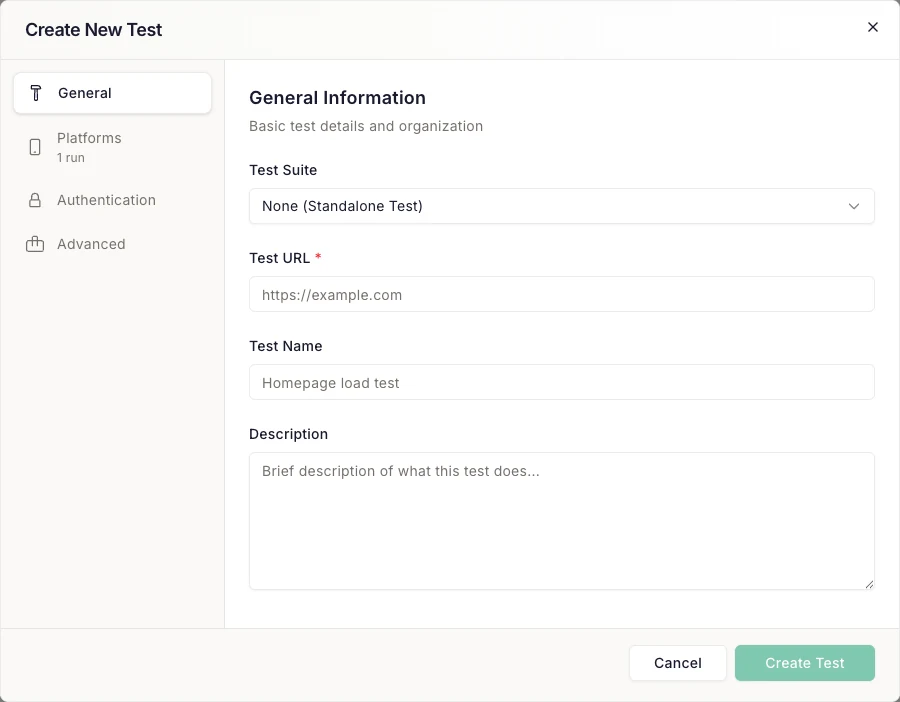
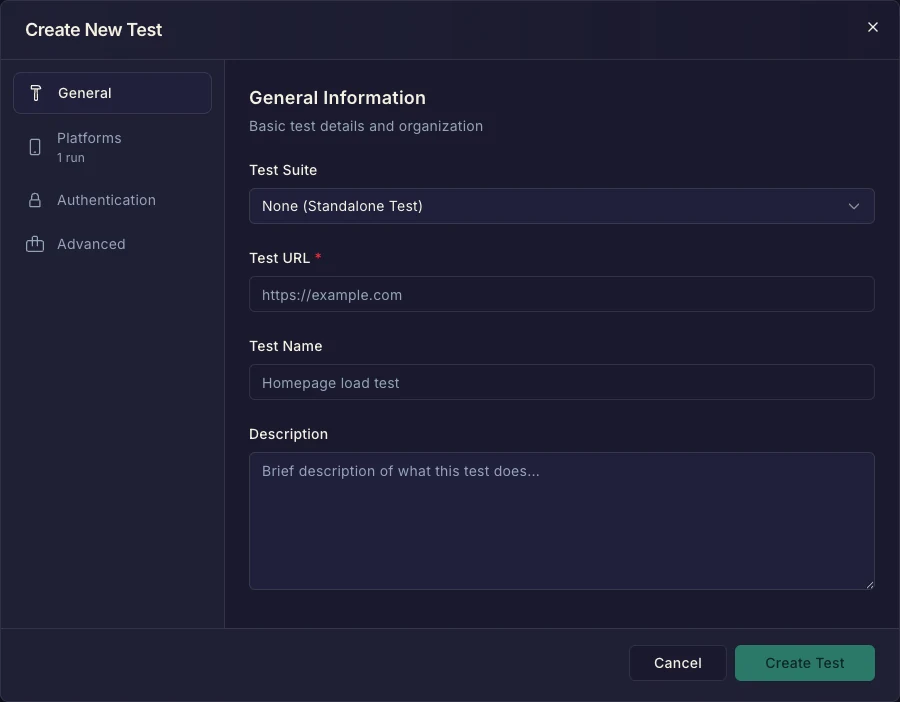
Enter the URL and name
- Test URL (required) — the page where the test starts, e.g.
https://example.com. If you leave off the protocol,https://is added automatically. If you pick a test suite with a default URL, you can leave the URL blank to inherit it — and any URL you do enter must be on the suite's domain. - Test Name — optional; if you skip it, the test is named "Testing" plus your URL.
- Description — optional, but useful for teammates and for AI features.
The dialog also has Platforms, Authentication, and Advanced tabs for browser/device selection, basic auth, and timing options — all of which you can change later in test settings.
Click Create Test
The new test is created with Draft status and the composer opens.
Get to know the composer
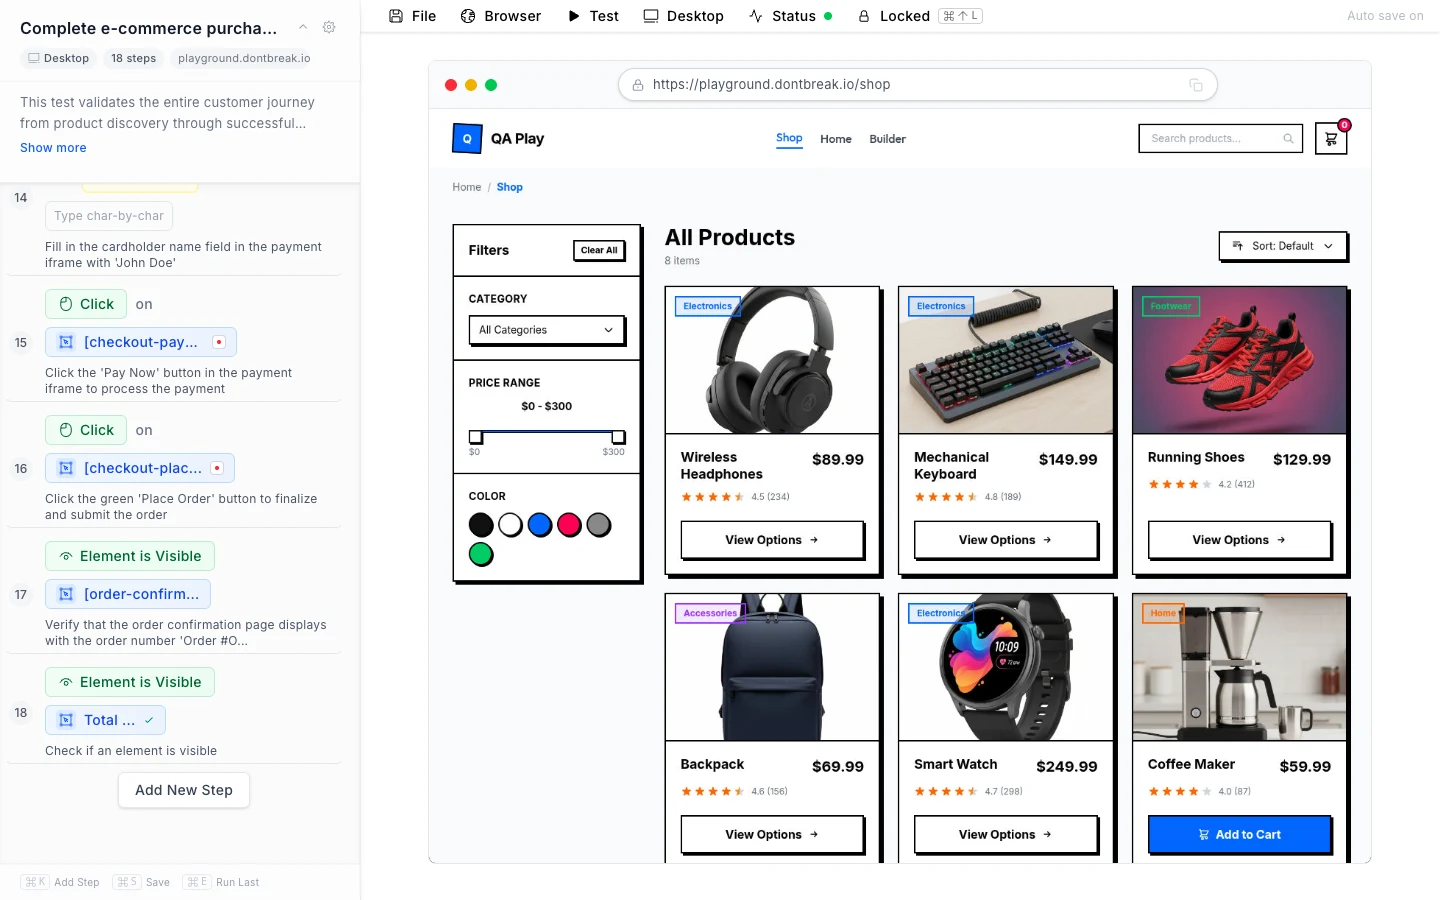
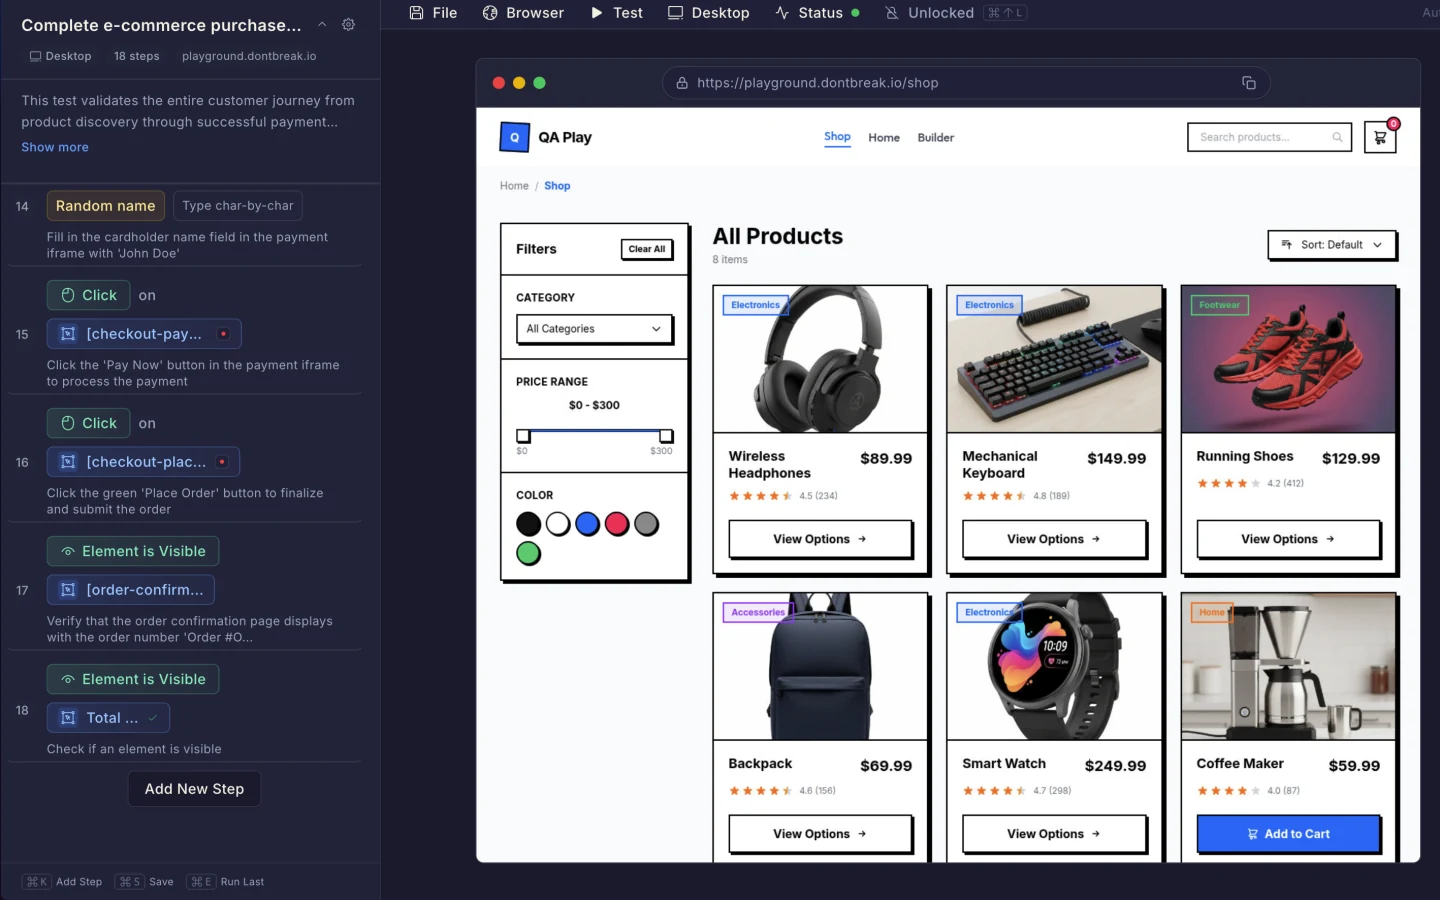
The composer is split in two: your step list on the left, and a live browser on the right showing your site exactly as the test will see it. A menu bar at the top gives you File, Browser, and Test menus plus a desktop/mobile view switch.
Add steps
Click Add New Step at the bottom of the step list, or press ⌘K anywhere, to open the action picker.
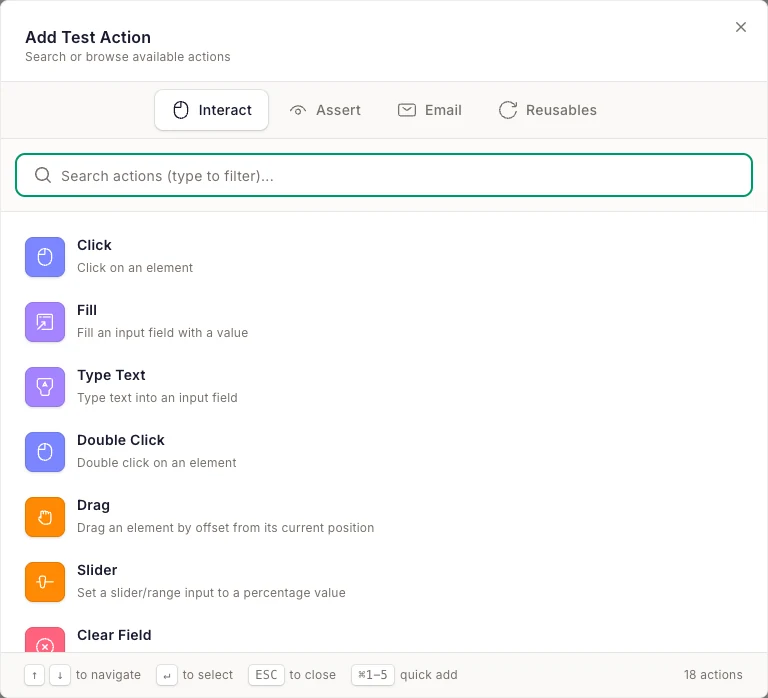
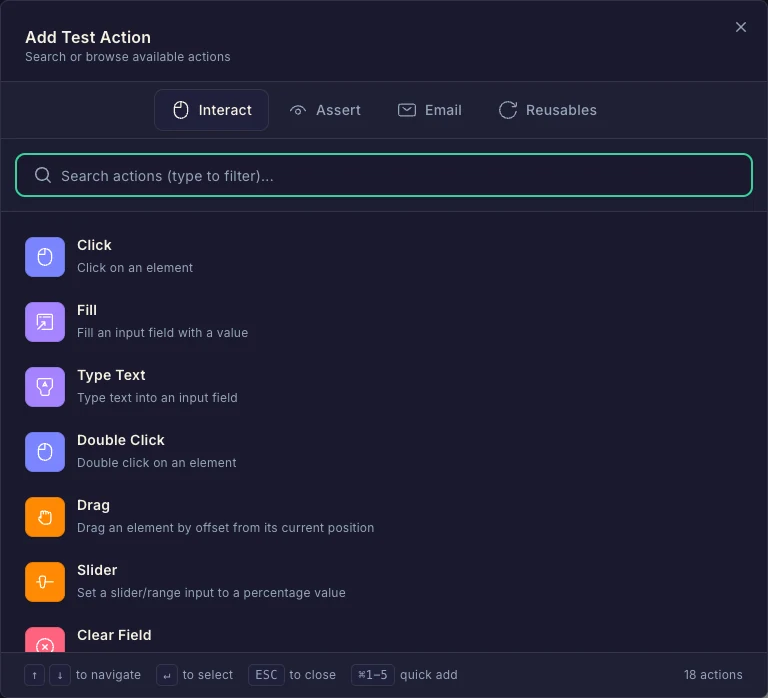
Actions come in a few flavors:
- Interactions — click, fill, type text, hover, scroll, wait. See Interactions.
- Assertions — element is visible, page contains text, URL check, and more. See Assertions.
- Browser actions — go back/forward, reload, set cookie. See Navigation.
- Email actions — create a temp inbox, wait for an email, extract links and codes. See Email testing.
For steps that target an element (like a click), you select the element directly in the live preview — DontBreak captures it visually plus its DOM details, so the step survives styling and markup changes. You can also drop in reusable components to share step sequences across tests.
Keyboard shortcuts
⌘K — open/close the action picker · ⌘S — save · ⌘E — execute the last added step in the live browser to verify it works.
Verify with Quick Run
Before launching real runs, verify your steps in place: open the Test menu and choose Quick Run. It replays all steps in the composer's browser on your current view (desktop or mobile) and streams a live log — step status, timing, and match confidence — without creating any reports or using your run quota. Save your changes first; Quick Run uses the saved steps.
Save your test
Press ⌘S or use File → Save. The composer also auto-saves as you work (toggle it under File → Auto Save). If many of your steps still have default descriptions, DontBreak offers to generate better ones with AI — helpful for teammates and for AI analysis, but you can decline and just save.
Desktop and mobile steps are saved separately — switch views with the device toggle to build a mobile variant (you can clone your desktop steps as a starting point).
Launch a real run
Back on the test's page, use the Run dropdown to launch on all enabled browsers, or desktop/mobile only. The run executes in the cloud and produces a full report with screenshots, video, and logs.
Next steps
- Understanding Test Results — read your first report
- Test settings — platforms, timeouts, and more
- Advanced test creation — variables, reusables, and complex flows