

Element Targeting
When you build a step, you don't write a CSS selector — you point at the element in the live preview. This page explains exactly what DontBreak captures when you do that, how it finds the element again at run time, and every option you have for tuning that behavior when a page makes targeting hard.
What gets captured
Picking an element stores three kinds of information:
- A visual snapshot — an image crop of the element and the exact point inside it that you clicked.
- DOM attributes — stable identifiers read from the element:
data-test*attributes, visible text, role, aria-label, associated label, placeholder, andid. - Position context — where on the page the element was, including scroll position (and the scroll position of any inner scrollable container, like a drawer or table).
Click the element chip on any step (unlock the editor first) to open the targeting panel, which shows the captured snapshot and DOM attributes:
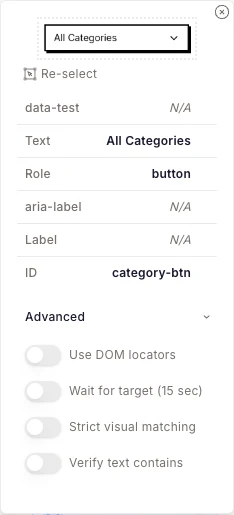
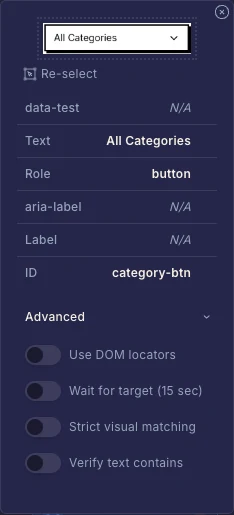
The DOM attribute rows are editable — if your team adds a data-testid after recording, you can fill it in here without re-capturing the element. To see the position context, click the element image to open Edit Visual Matching: toggle the Captured area chip to highlight where on the page the element was captured, and the Scroll chip shows the window scroll offset recorded at capture (0,0 means the top of the page; a separate chip appears for scroll inside a custom container). See Fine-tuning the visual match below.
How elements are found at run time
At run time DontBreak waits for the page to settle (animations finished, pixels stable), then looks for the element:
- Pixel matching first. The stored element image is matched against the page using exact template matching with a high confidence bar. When it matches, that result is trusted as-is — a pixel-accurate match is strong evidence on its own.
- Feature-detection fallback. If exact matching can't find the element (or can't pick between candidates) — typically because of small rendering differences across browsers, font drift, or slight layout changes — DontBreak falls back to feature-based matching (SIFT), which tolerates those differences.
- DOM cross-check on fallback matches. Because fallback matches are fuzzier, they get a safety check: if the recorded element had a stable
idordata-test*attribute, the candidate found on screen must carry the same one. A confident-looking match on the wrong element is rejected and the next candidate is tried. Exact pixel matches skip this check — they don't need it. - Finding elements that moved. If nothing matches where the element used to be, DontBreak polls briefly for late-loading content, then searches by scrolling: near the recorded position first, inside inner scrollable containers if the element lived in one, and finally across the whole page. How far the element drifted from its recorded position is reported, but position itself is never what identifies the element.
- Structural last resort. If every visual route fails, DontBreak attempts to resolve the element directly from its recorded DOM attributes before giving up.
The match method and confidence for every step are shown in the run report, and low-confidence or fallback matches are flagged for review.
Per-step matching options
The Advanced section of the targeting panel has six switches. Hover or tap the ⓘ next to each one for a short explanation:
| Option | What it does |
|---|---|
| Optional step | Runs the step only if its target appears (checked for about 3 seconds). If it doesn't, the step is marked Skipped in the report instead of failing the test. For UI that only sometimes shows up at a known point — save-before-exit prompts, one-time banners. |
| Background step | Takes the step out of the sequence. It runs whenever its target appears on the page, so it can close a popup that shows up at any point of the run. See Background steps below. Click and double-click steps only. |
| Use DOM locators | Skips visual matching entirely and finds the element by its DOM properties (data-testid, role, label, text). Best for generic-looking elements with reliable attributes. |
| Wait for target (15 sec) | Retries the match for up to 15 seconds before failing — for elements that appear after an animation, API call, or lazy load. |
| Strict visual matching | Exact pixel matching only, with an even higher confidence bar and no feature-detection fallback. Use when several elements look alike and you need precisely this one. |
| Verify text contains | After matching, fails the step unless the matched element's visible text contains the expected value — a text safety net on top of the visual match. |
Note
Turning on Use DOM locators disables the visual-matching options for that step — wait-for-target, strict matching, and text verification apply to visual targeting only. Optional step works with both targeting modes, and overrides Wait for target: an optional step never waits the full 15 seconds for something that usually isn't there.
Background steps
Many shops show a newsletter sign-up, a discount offer or an upsell popup at an unpredictable moment: a few seconds after the page loads, right after Add to cart, or when the visitor scrolls. Every run is a fresh visitor, so the popup appears in every run, but rarely at the same step. A background step handles it wherever it lands.
Record the click that closes the popup
When the popup appears while you build the test, add a Click step on the button that dismisses it, such as No thanks or the close button.
Mark it as a background step
Open the step's target, expand Advanced and turn on Background step. The step moves to the Background steps group at the top of the step list. Your other steps keep their numbers.
During a run, background steps are skipped in the normal order. When a step can't find its target, or its click lands on something covering the page instead of the element, DontBreak looks for your background steps. If one of them is on screen, it runs it and then tries the step again. A background step can run several times in one test, once for each time the popup comes back. Play to here in the composer works the same way.
In the run report, each time a background step ran it shows up right before the step it unblocked. The Background steps summary at the top says how many times each one ran, or Didn't appear if its popup never showed up. That's normal and never fails a test.
Tip
Target something distinctive. The No thanks text or the whole close button matches more reliably than a tiny ✕ that looks like every other close icon on the page.
Background steps are available for Click and Double click steps outside reusables. A step can't be optional and a background step at the same time; a background step already runs only when its target appears.
Fine-tuning the visual match
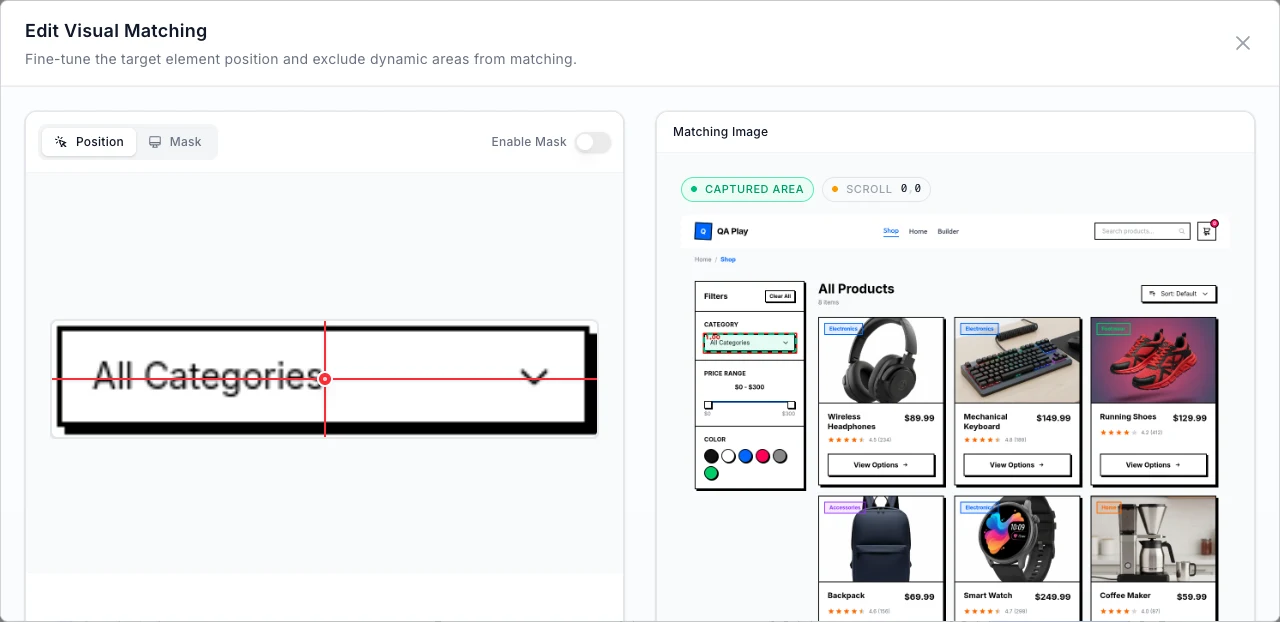
Click the element image inside the targeting panel to open Edit Visual Matching. The left side has two tabs:
- Position — adjust the exact click point inside the captured element (useful when you want to click a specific spot, like the arrow inside a dropdown).
- Mask — paint over parts of the element that change between runs so they're ignored during matching.
The right side shows the Matching Image — the page screenshot from the last match attempt. Toggle the Captured area chip to highlight where the element was captured on that page; the Scroll chip shows the recorded window scroll offset, with an extra chip when the element scrolled inside a custom container.
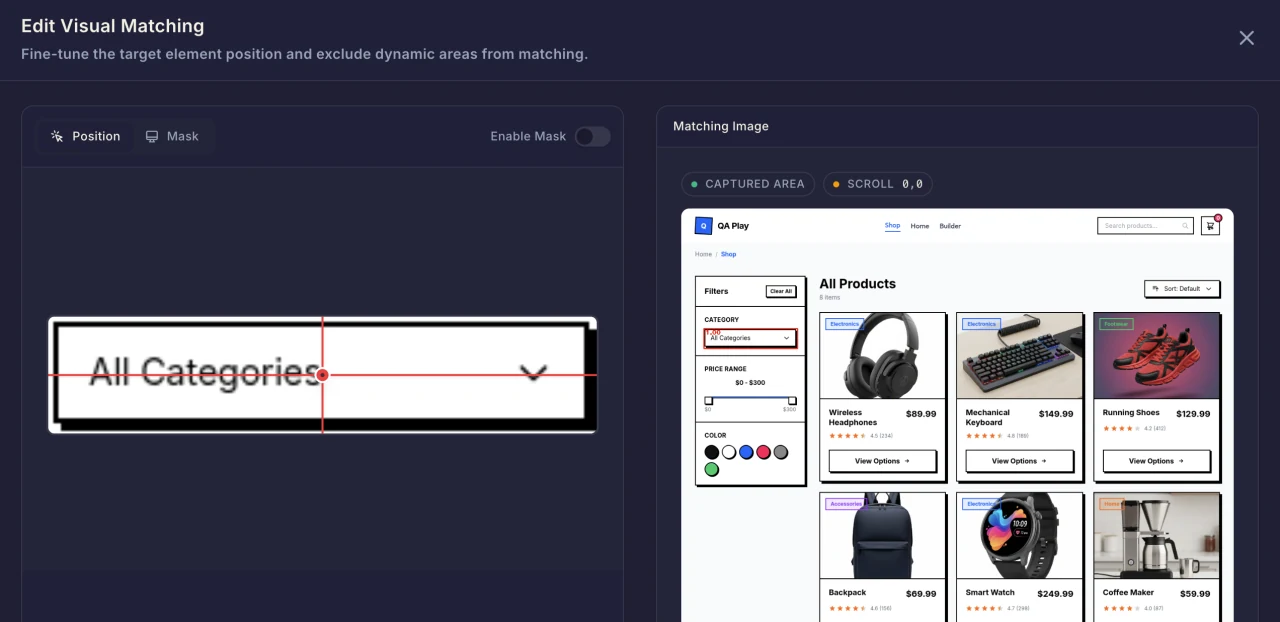
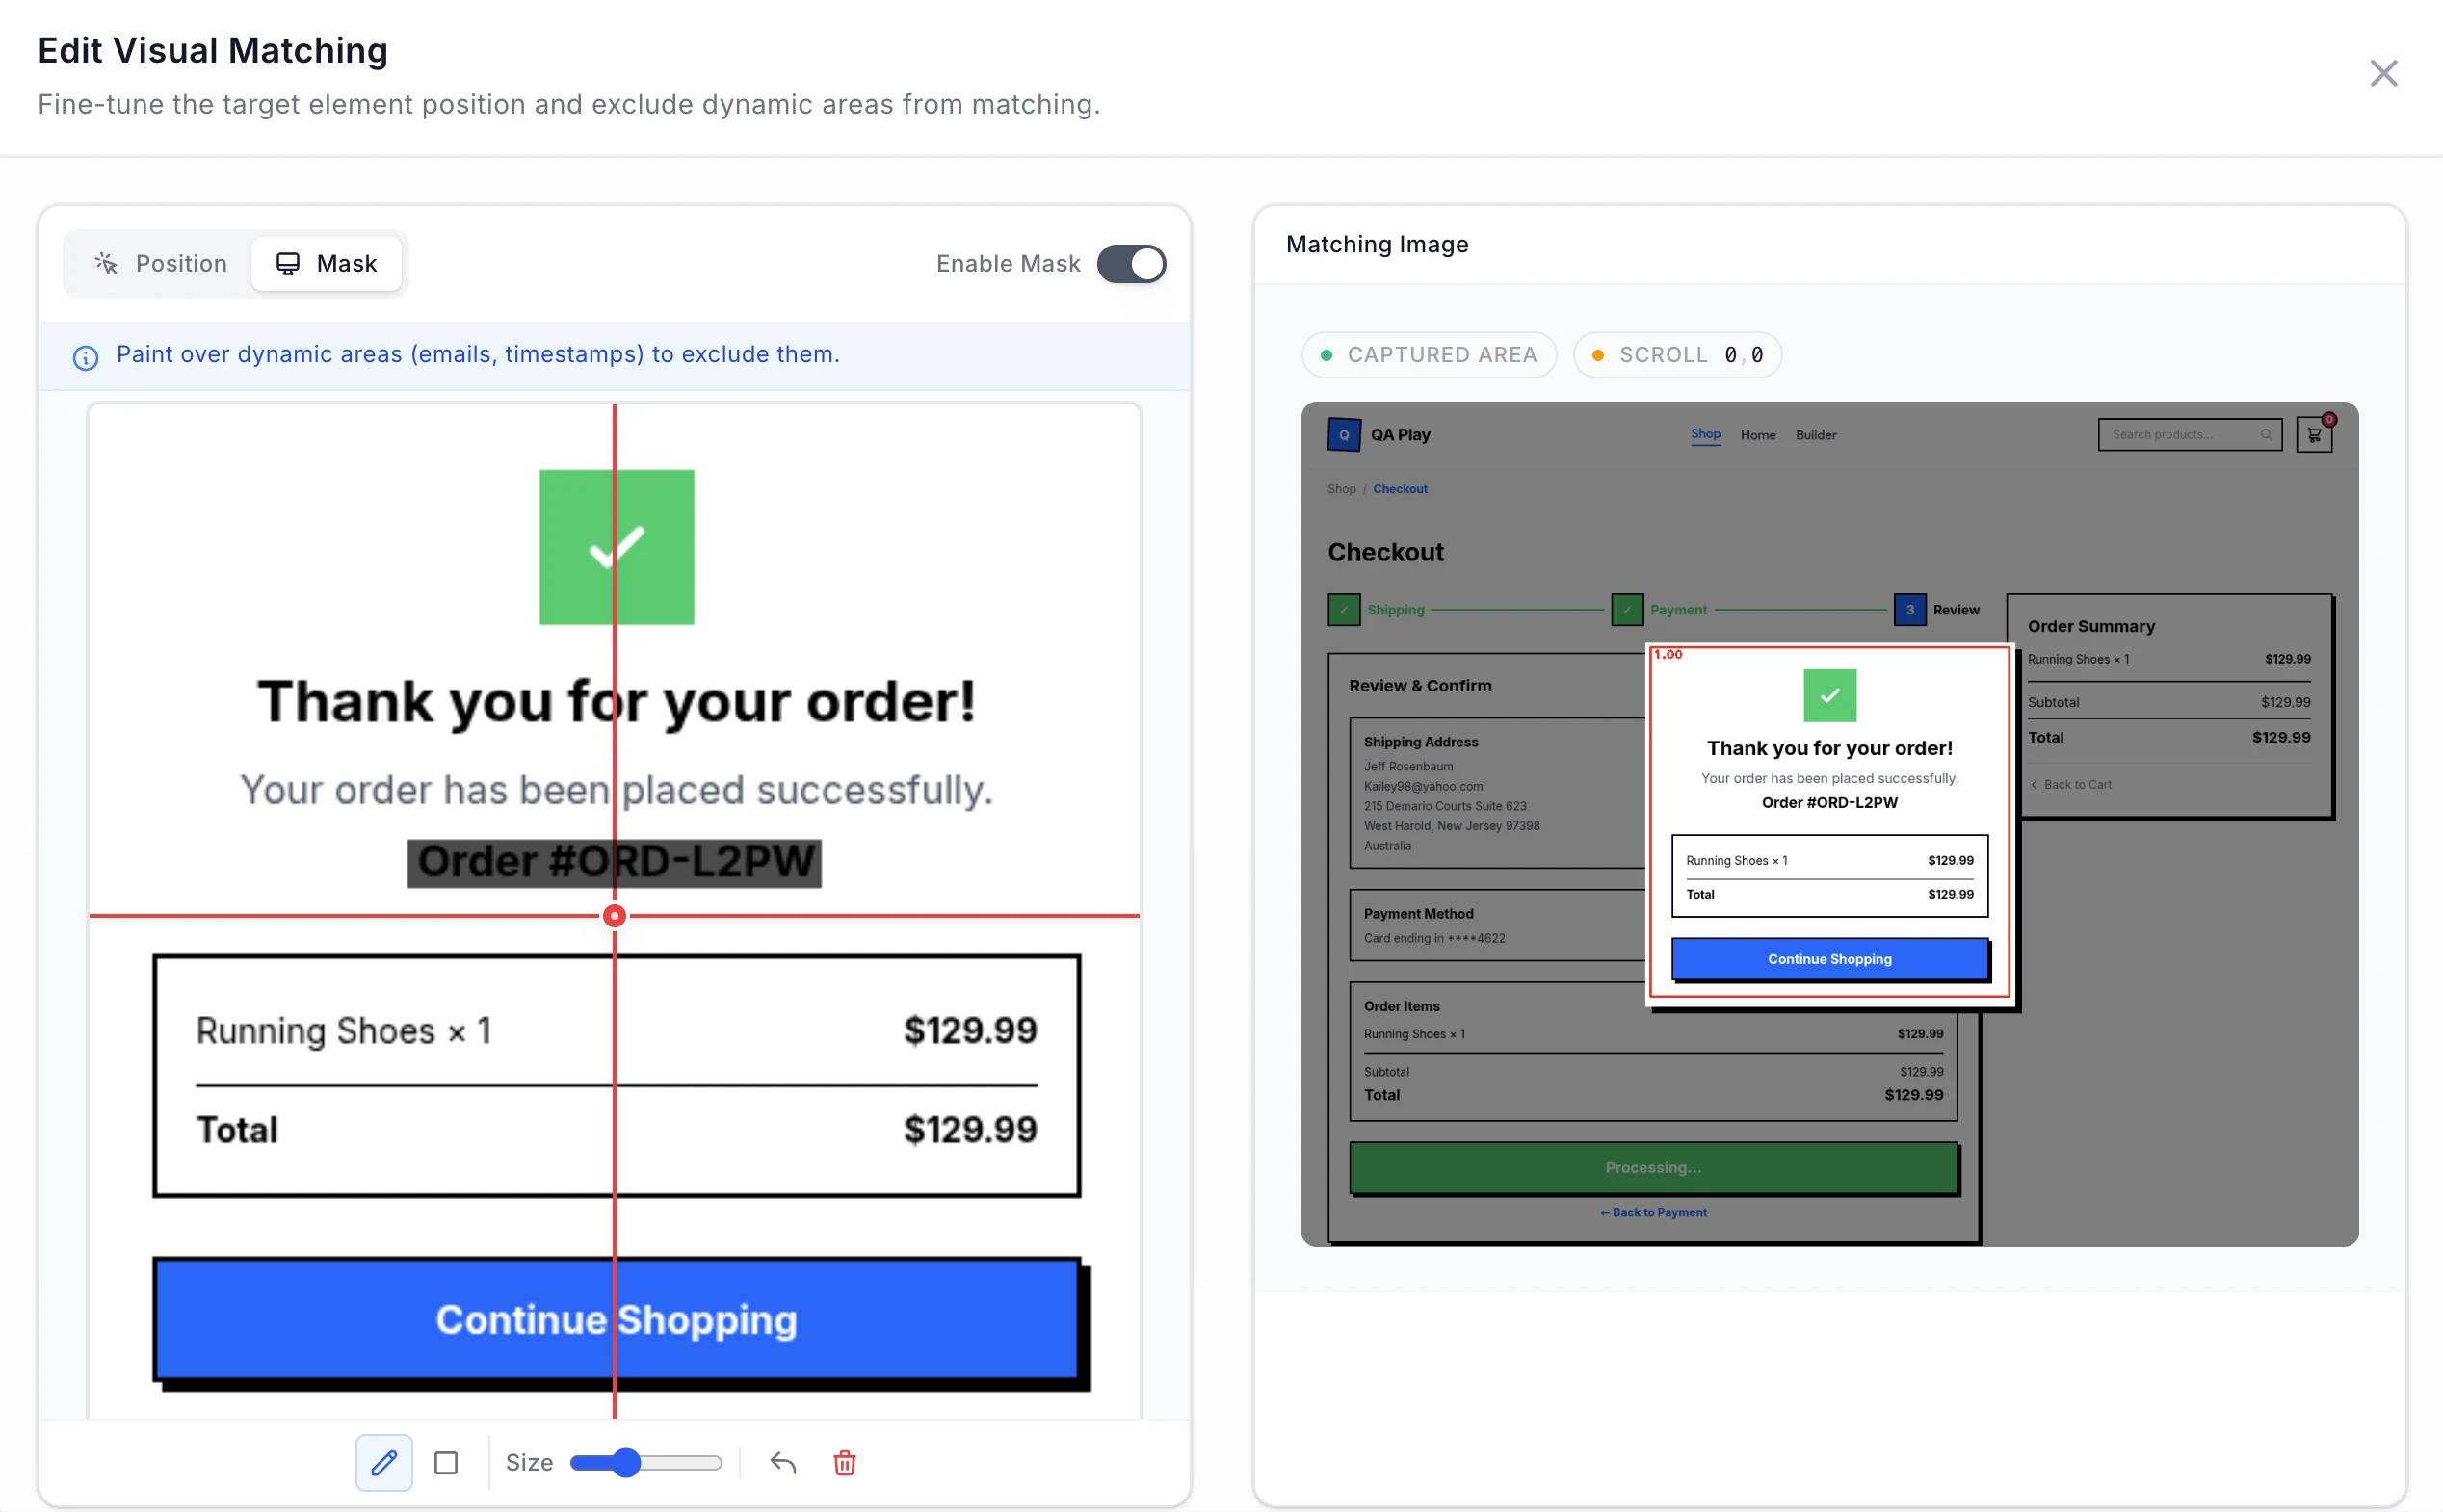
Masks are the answer when the element itself contains dynamic content — a timestamp inside a card, a counter on a button, a user's name in a menu. Draw with the brush or rectangle tool; masked areas are excluded from both exact and fallback matching. See Handling dynamic content for when to reach for masks versus other techniques.
Test-level: Skip DOM verification
Test settings → Advanced has a Skip DOM verification switch. It disables the DOM cross-check described in step 3 above for the whole test. Because the check only ever applies to fallback matches, this setting only matters when your elements have unstable identifiers (randomly generated ids that change every deploy) causing correct fallback matches to be rejected. Leave it off otherwise — it's a safety net worth keeping.
Choosing a strategy
| Situation | Reach for |
|---|---|
| Element looks distinctive and stable | Nothing — default matching just works |
| Appears after a delay | Wait for target (15 sec) |
| Only sometimes appears at a known point (save prompt) | Optional step |
| A popup that can appear at any moment (newsletter, discount, upsell) | Background step |
| Several look-alike elements | Strict visual matching, or Verify text contains |
| Contains a changing region | A mask |
Generic look, reliable data-testid | Use DOM locators |
| Strong hover effect (menu items, dropdown options) | Capture a larger area with stable context, or Use DOM locators |
Dynamic, auto-generated ids breaking fallback matches | Test-level Skip DOM verification |
For the broader stability playbook — dynamic pages, flaky steps, assertion strategy — see Test reliability.